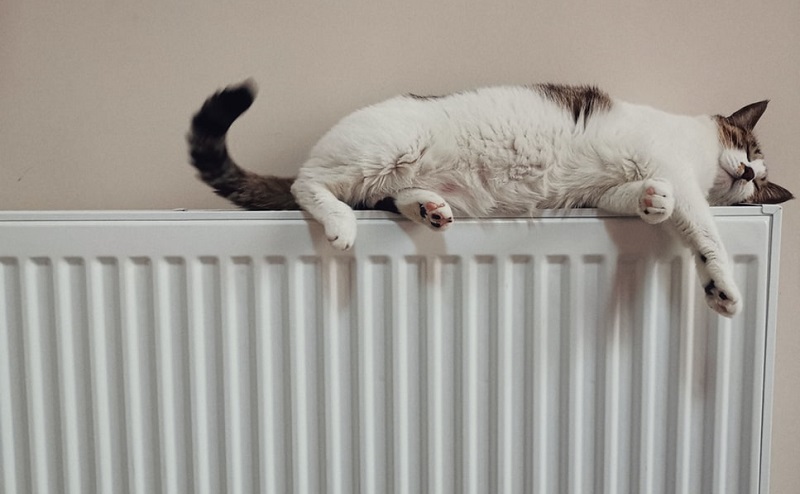
Radiators discolour over time, but this is easily fixed with a quick lick of paint. Radiator paint is readily available from hardware shops and the easiest option is to use spray paint. The finish is just as effective as traditional paint and can be done while leaving your radiator attached to the wall.
Spray painting your radiators takes only a few minutes but does require a bit of preparation.
You will need:
- Radiator spray paint, in the colour and finish of your choice (check on the bottle how many radiators each can will cover)
- Sugar soap
- Paper or plastic sheets to protect walls and floors
- Dust mask
- Sandpaper
- Cloths and cleaning basin
- Masking tape
Here’s what to do:
Step 1: Turn off your radiators
Your radiators should be cold to the touch to ensure the paint settles properly and doesn’t run. It’s useful to turn them off a few hours before you plan on spraying them.
Step 2: Prepare the surrounding areas
Cover the walls and floor surrounding your radiator with paper or plastic sheets, masking taping them in place. It’s useful to cover quite a large area as spray paint travels. You may want to cover pipework and stainless steel or plastic fixtures on the radiator with tape to keep them paint-free.
Step 3: Sand down the radiator
Next, give the radiator a quick sand. This removes any rust, flaky paint and tough dirt. You don’t need to sand it right back, but smoothing out any bumps is a good idea. Sanding the radiator also creates a better surface for the paint to stick to.
Step 4: Clean the radiator
Start by dusting the radiator thoroughly, then wipe it down using a damp cloth and dry it. Make sure the radiator is totally free from dust and debris.
Step 5: Treat the radiator
Next, wash your radiators down with sugar soap. Sugar soap is a readily available cleaning and treating formula. There will be instructions on the container as to the ratios needed to mix up a small amount of sugar soap water. Wipe over your radiator completely with this.
Step 5: Get ready to start spraying
Before you pick up the can and get painting, it’s a good idea to close internal doors and open all external windows as wide as possible to let the fumes out. Double-check your floors and walls are protected and put on your mask.
Step 6: Shake and start spraying
Shake the can vigorously for up to 1 minute. Then, leaving a distance of around 20-25cm from the surface of the radiator, begin spraying in up and down motions, moving slowly along the length of the radiator.
At intervals, spray along the top of the radiator is left-right motions. Don’t forget to spray down the sides and go over ridges and corners at a few different angles to ensure full coverage.
You can see the action required in this video:
CAUTION: You only need to take a couple of minutes to spray the whole surface and only go over each area once. If you layer on the paint too thick, it will begin to run and you will be left with drips.
Once you’ve sprayed the whole radiator, wait for the air to settle and take a look at the finish. If it’s not as concentrated as you’d like, simply wait for this to dry and apply another coat of paint. The paint should dry quickly, in around 30 mins.
Step 7: Tidy up
Once your paint is totally dry (the instructions on the can will tell you how long to wait) then it’s all done. Clear away your protective paper or sheets and any masking tape and your new radiator will be revealed in all its glory!
TOP TIP: Spray paint travels far and wide. It’s a good idea to check the room thoroughly and wipe away any settled paint.
We hope you’ve found this a useful guide!
We’re on Twitter and Facebook where we share lots of heating and energy-saving tips and ideas. Give us a follow!


